
Rotis are not just a simple food they’re a part of our everyday tradition. A soft, fluffy, golden brown roti can enhance any meal. But achieving that perfect flavor takes more than just practice it starts with the right flour and a few key techniques.
In this blog, we’ll guide you step by step on how to make the perfect roti at home.
Step 1: Choose the Right Atta
The quality of the flour plays a important part in making a perfect roti. Make sure that your flour is of good quality and has no preservatives and additives. Here’s How to tell if your wheat flour is pure.
Step 2: Use Warm Water to Knead
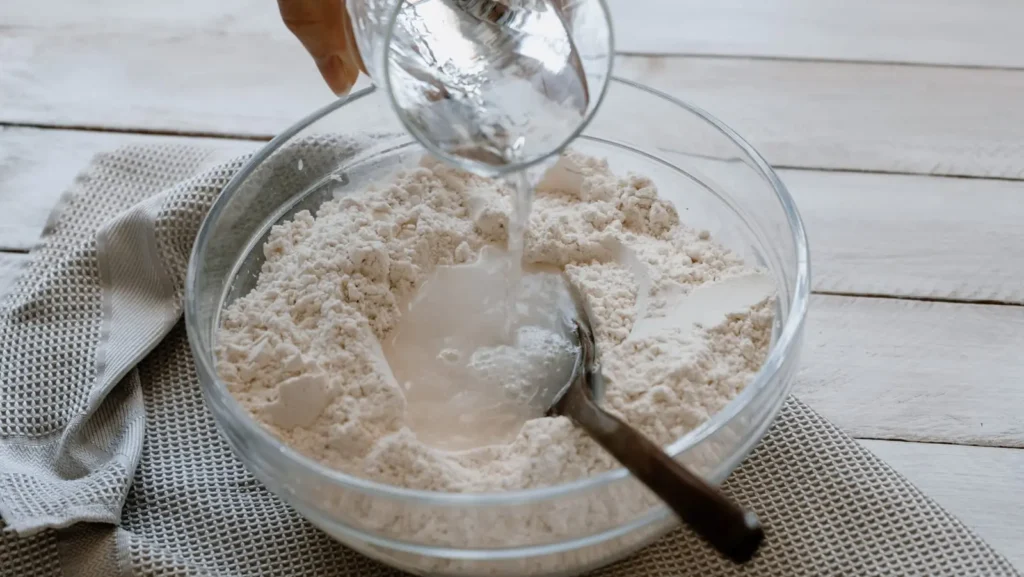
Why warm water?
Using lukewarm water makes a big difference when kneading the dough for roti . Warm water helps in the proper absorption of moisture by the wheat flour, leading to softer, more puffier and elastic dough.
Kneading tips:
Start adding water slowly, in small amounts.
Mix the flour with your fingers until it forms a rough dough.
Step 3: Knead Well

Kneading the dough the right way is crucial for soft, fluffy rotis. Be patient and knead the dough for about 8 to 10 minutes. Knead by pressing, folding, and turning the dough repeatedly until it becomes soft and smooth.
The more you knead, the smoother and more elastic the dough will get. You’ll feel that it is transforming from a rough mixture into a beautiful, soft dough that’s easy to roll. When you press it with your finger, it should rise back gently.
So, knead it well and ensure the dough is perfectly smooth and doesn’t stick.
Pro Tip: If your dough is too sticky, dust it with a little dry flour. If it’s too dry, add a tiny splash of warm water and continue kneading until you get that perfect, texture.
Step 4: Let the Dough Rest
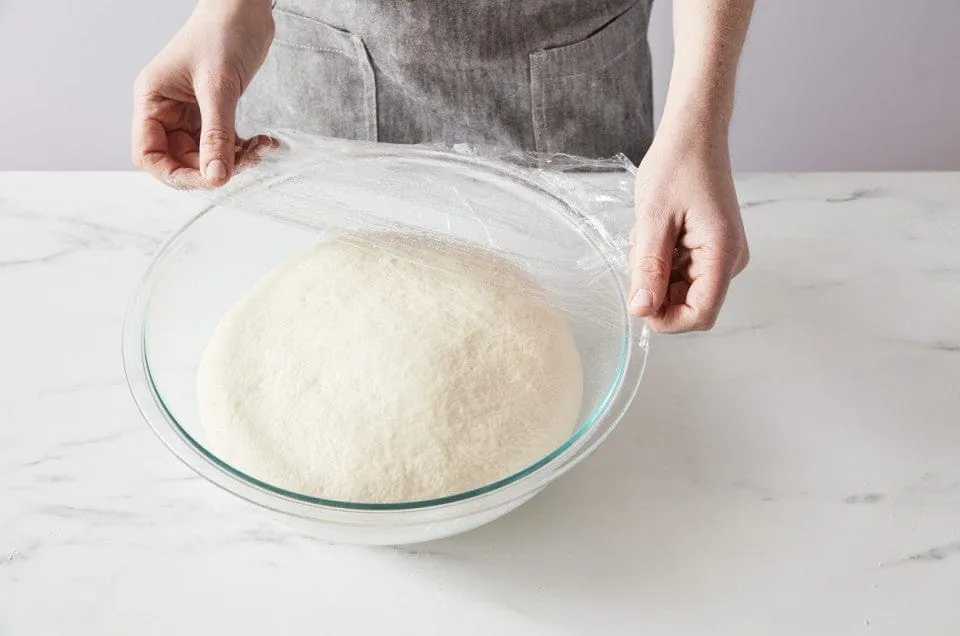
The next step is letting it rest. This is a simple but important step to make your roti fluffier.
Here’s why resting matters:
- Relaxes the Gluten.
- Makes Rolling Easier.
- Contributes to Softness.
- Allows Even Hydration.
How to Rest the Dough:
- Cover the dough with a damp cloth to keep it from drying out. You can also use a plastic wrap or an airtight container.
- Set the dough aside in a cool place while it rests. It needs to stay at room temperature.
- After 20–30 minutes, the dough will feel softer and fluffier, ready for shaping it into round dough balls.
Why it matters: This step is key for getting rotis that are light, fluffy, and don’t crack when you roll them out. The dough will be smoother and easier to handle, making the entire process of preparing your rotis more enjoyable and less frustrating.
Step 5: Make Even Balls
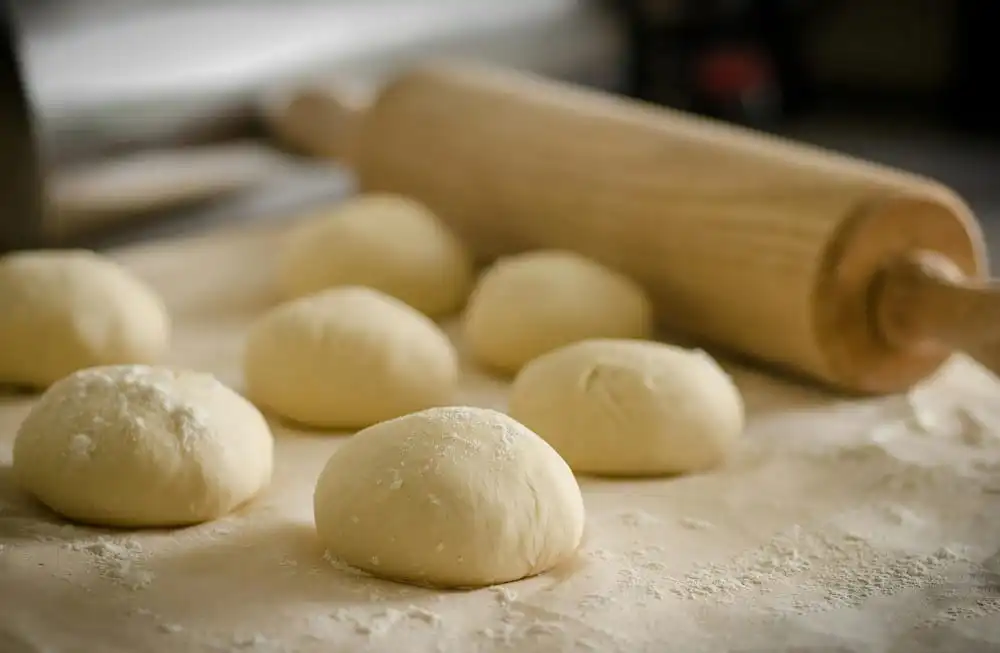
Now, the next crucial step is to divide it into equal balls, or “loi”.
Why making even sized balls matters:
- Uniform Thickness: When you divide your dough into balls of equal size, each roti will be of even thickness.
- Even Puffing: One of the signs of a perfect roti is its ability to puff up while cooking.
- Smooth, Crack Free Rotis: To make sure your rotis don’t crack while rolling, you need to make smooth balls.
Why it matters: By making sure your dough balls are of the same size and smooth, you’re all set for getting perfectly round, evenly cooked rotis.
Step 6: Roll Gently and Evenly
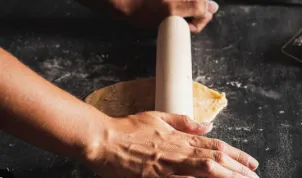
Rolling your dough balls into, round rotis is an art that requires a little patience and a gentle touch. This step is crucial for ensuring your rotis have the right texture and cook evenly. Let’s break down how to do it right.
Why rolling gently and evenly matters:
- Maintaining Softness: The secret to a soft, fluffy roti is gentle pressure while rolling. If you press too hard, you may flatten the dough too much, which can result in a tough roti.
- Even Thickness: Rolling evenly is essential for ensuring that your roti cooks evenly. If one part is thicker than another, the thicker part will take longer to cook, while the thinner areas may burn.
- Round Shape: When you roll in all directions, it helps maintain a uniform round shape. A round roti is easier to cook evenly and looks better too.
Bonus Tip: If the dough sticks to the rolling pin, you can sprinkle a little more dry atta on it. However, use sparingly so that the roti doesn’t get too dry or tough.
Step 7: Cook on a Hot Tawa
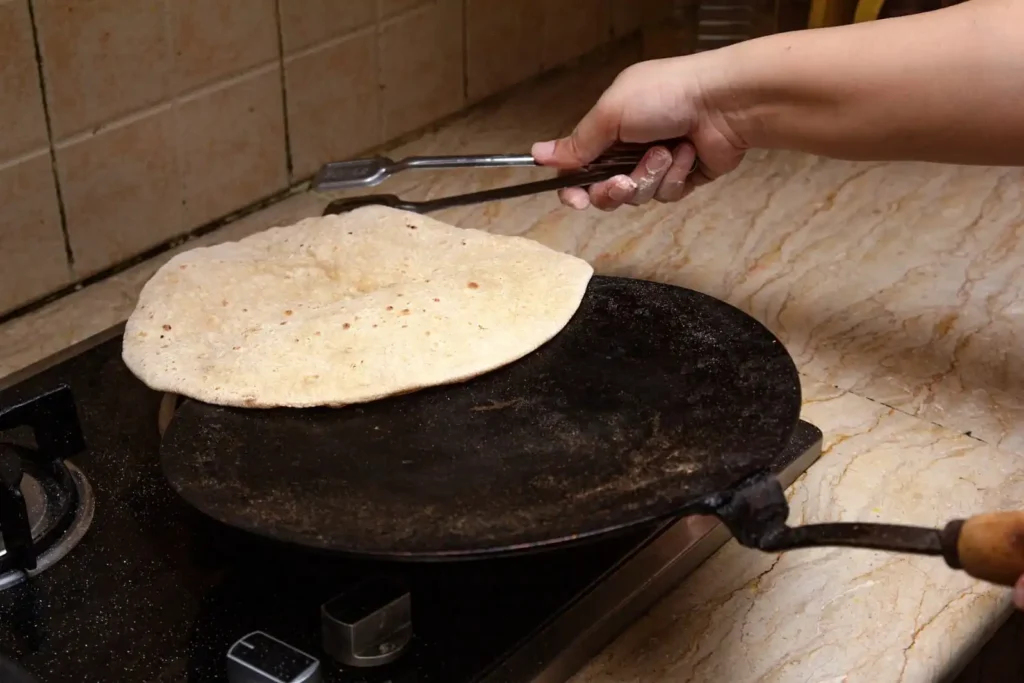
Cooking rotis is all about right timing and right temperature. A well heated tawa is will help in getting the perfect puff.
How to Cook the Roti:
- Place the rolled roti on the tawa: Once your tawa is heated, gently place the rolled roti onto it.. Be quick but gentle to avoid tearing the roti.
- Watch for bubbles: As the roti cooks, you will begin to see small bubbles forming on the surface. These bubbles indicate that the dough is cooking and the heat is penetrating evenly. It’s time to flip the roti!
- Flip the roti: Flip the roti when you see these bubbles, or after about 30 seconds. The underside of the roti should have light brown spots. These are the signals that the first side is properly cooked.
- Cook the other side: Once flipped, let the roti cook for another 10–15 seconds. The second side will develop brown spots too.
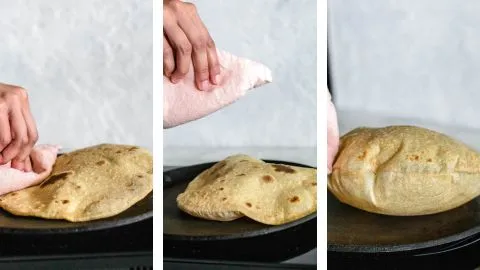
How to Get the Perfect Puff:
- Press gently: After flipping the roti, use a cloth or spatula to gently press the edges. This will encourage the roti to puff up fully. Pressing too hard can cause it to deflate, so apply gentle pressure.
- Watch it puff: If your tawa is hot enough, and the dough has been kneaded well, the roti should begin to puff up within 20-30 seconds. This is the sign of a perfectly cooked roti!
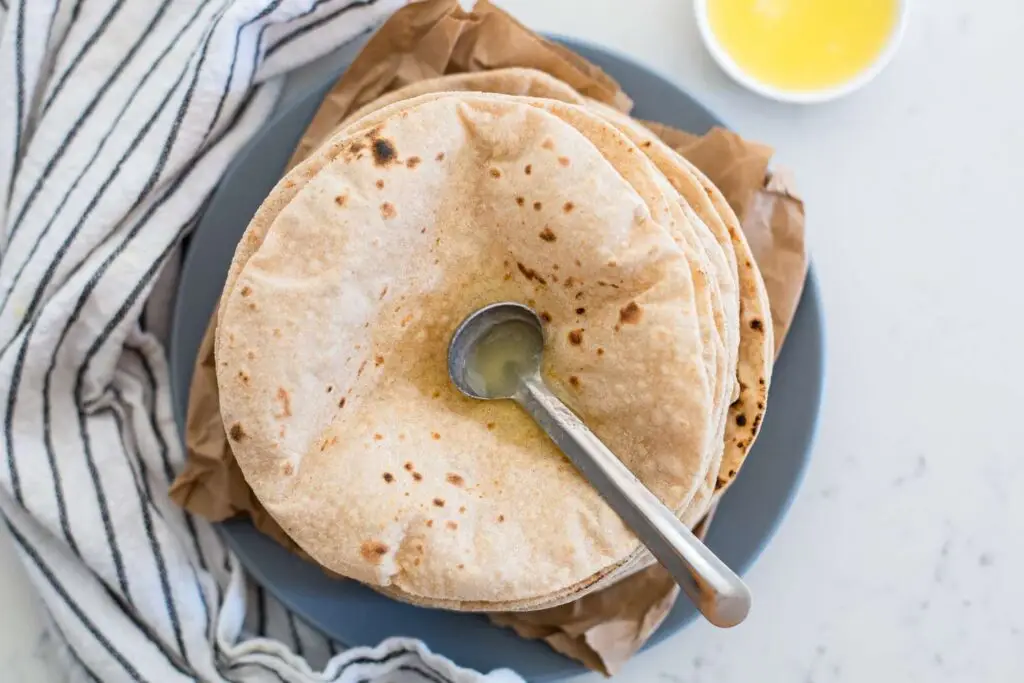
Add Ghee (Optional)
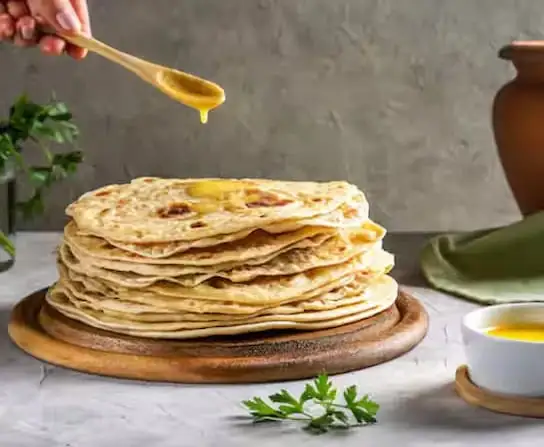
Once your roti is cooked to golden perfection, it’s time to finish it off with a touch of ghee or butter a traditional, delicious touch that makes the roti even more flavorful.
Why Add Ghee?
Adding ghee to your roti isn’t just for flavor, it also adds several benefits:
- Keeps the Roti Soft: Ghee acts as a moisture barrier. When applied to the hot roti, it helps seal in the softness, preventing the roti from drying out and ensuring it stays tender for a longer time. This is especially helpful if you’re making a batch of rotis and want them to remain soft for hours.
- Traditional Taste: For many, a roti with ghee is a nostalgic treat that evokes memories of family meals. Ghee brings out the authentic flavor of traditional Indian cooking, making every bite comforting and satisfying.
- Health Benefits (In Moderation): Ghee is rich in healthy fats which promote digestion, immunity, and provide energy. Though high in calories, it’s best enjoyed in moderation for the added health benefits.
Pro Tip:
If you’re making a larger batch of rotis, keep the cooked rotis warm by wrapping them in a clean cloth after applying ghee. This helps to keep them soft and warm until you’re ready to serve.
And just like that your soft, fluffy Roti are ready to enjoy!
If you are looking for for a trusted and reliable (wheat flour) atta manufacturer to partner with Shree Yade Agro should be your go to.
Shree Yade Agro is a flour mill company that manufactures Shree Gaderi Gold Atta. Shree Gaderi Gold Atta is made from 100% pure M.P wheat and is manufactured in an In- House – Mill with hygienic and secure practices. We proudly serve wholesalers, distributors, retailers and even bulk buyers.
Contact us For bulk inquiry or quation.